I purchased this design from Design Bundles.net (https://designbundles.net/mockupstation/664233-dog-paw-3d-mandala-svg-animal-paw-layered-cut-file#gtmList=30>mPos=13) as part of one of their bundle sales this year.
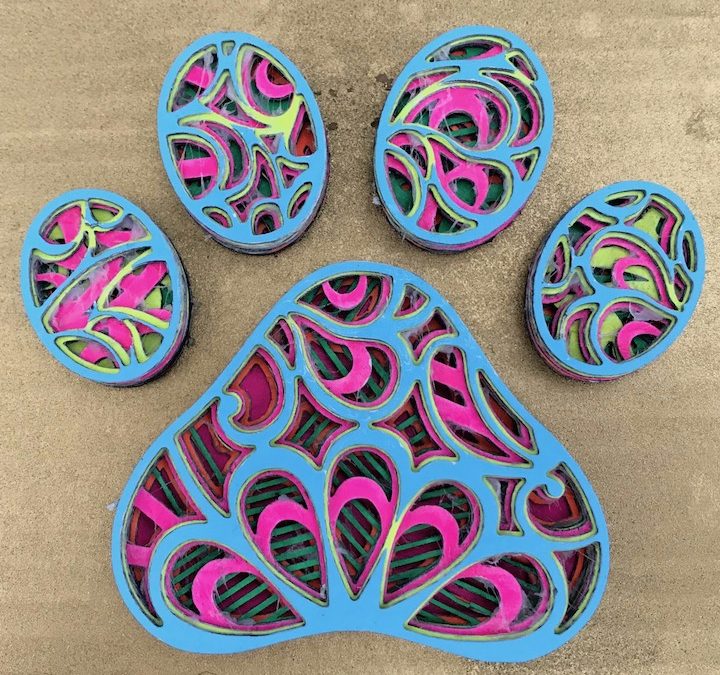
I decided I would use cardboad to cut it out, using known settings for the type of cardboard.
There were 7 layers of the design and each needed to be cut out and then sprayed white, ready for the top layer of paint to be added.
My idea was to use flourescent colours instead of normal ones, as this would then give two display surfaces. One would be in normal daylight, where the natural colour of the inks would show on the surface. The second display would be under the influence of ultraviolet, or black light. This light only displays the fluorescent ink and dulls the rest of the scene.
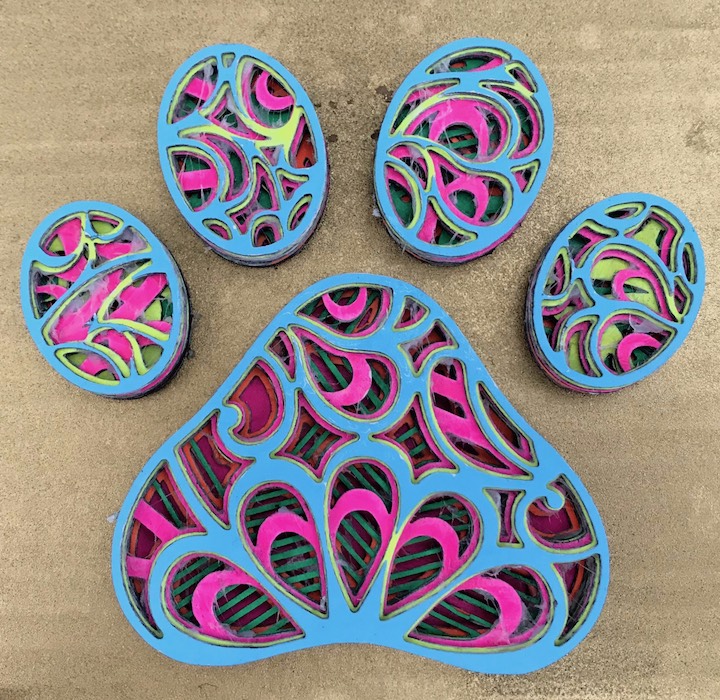
So once I have put it altogether and mounted it to a another piece of cardboard sprayed gold, this was the result.
So to test my theory, I took the paw into a darkened room and then turned on the black light.
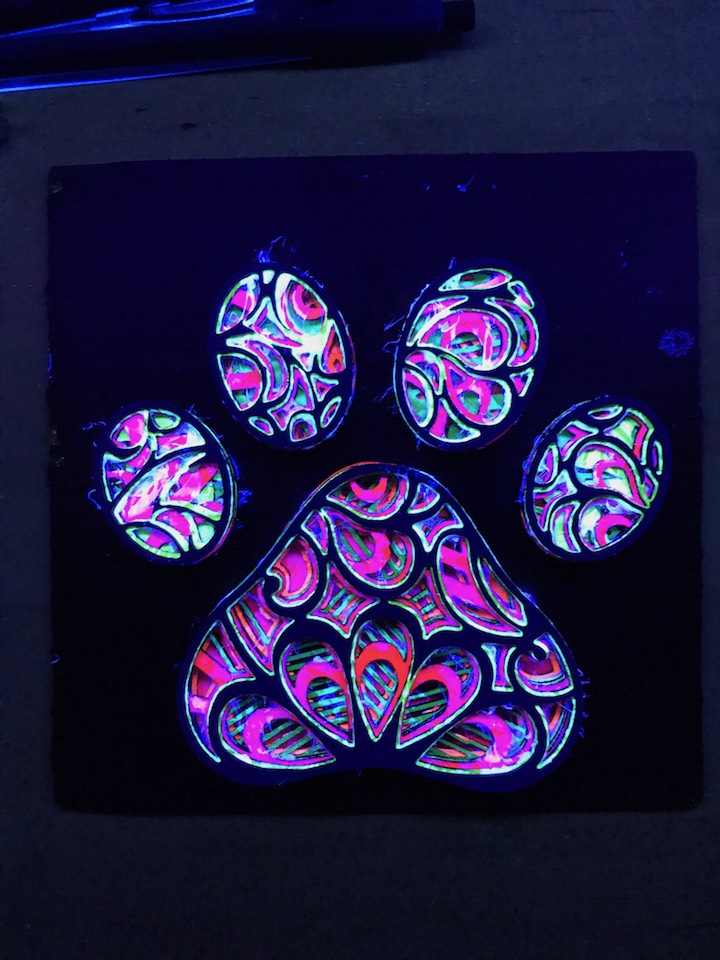
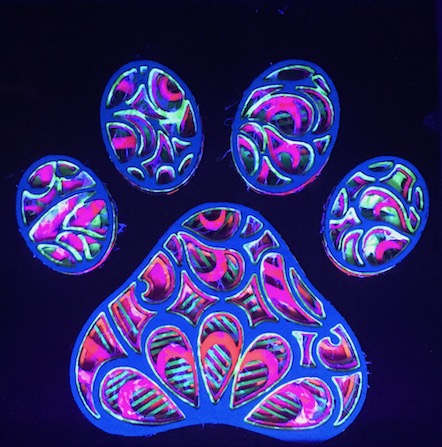
The blue I had used was not a fluorescent blue, despite looking fluorescent. I have since found a proper fluorescent blue and the result of the correct colour is shown below.
Laser Settings
| Speed | Power | Tries | Hatching | Pattern |
| 350 | 100 | 3 | 0.50 | Horizontal |
BoM
Recent Comments